A motorised focuser for the Meade 12" LX200
I got quite used to having electric focus on the 14" Newtonian, being able to focus easily without all the wobble associated with touching the telescope during focusing actually makes it more precise. So I wanted to do something similar for the LX200, my reference point was Chris Heapy's excellent pages here (you'll need to navigate away from this destination, click on Workshop Projects, navigate to the bottom of the page and click on the picture associated with the ACCESSORIES & MODS TO AN LX200 10" box) , where he does a very nice design for a motorised focuser using a DC motor (if you remember I used a DC motor for the Crayford Focuser I made for the Newtonian). The drawback of using the DC motor approach is that it can't be accurately controlled to a set position without fitting an encoder and adding a proper position control system.
My LX200 is fitted with a Van Slyke crayford focuser (this was as I bought it). This is presumably to get around the image shift and mirror flop which is kind of inherent in the design of the "move the primary mirror" to focus method adopted by most manufacturers of SCT's. The Van Slyke can be easily outfitted with something like a Robofocus to achieve electric focus for the LX200. But I would still need to use the main focussing mechanism to do the "coarse" focusing, because the Van Slyke will not bring all of my eyepieces and various other fittings and combinations to focus without using the main focusing mechanism due to it's limited (about 25mm) travel.
I had already fitted the mirror stabilising mod to the LX200, this came with it when I bought it, just hadn't been fitted and also I had done the Peterson Engineering EZ Focus mod. One thing I didn't want to do was modify the telescope structure in any way so attaching a system to the side of the end casting like Chris Heapy did was not ideal, also using gears like this would introduce some additional backlash.
To start with I bought a Lakeside Astro Motorfocus system from Ian King Imaging.
This comprised of a stepper motor, a hand controller, cables for connecting to a 12 V power supply, connecting between the hand controller and the motor and connecting serially to a PC, and some ASCOM based software drivers. Ian King also provides custom made brackets to attach the system to your telescope of choice, but at the time of purchase he didn't do one for the LX200. So I had to make my own.
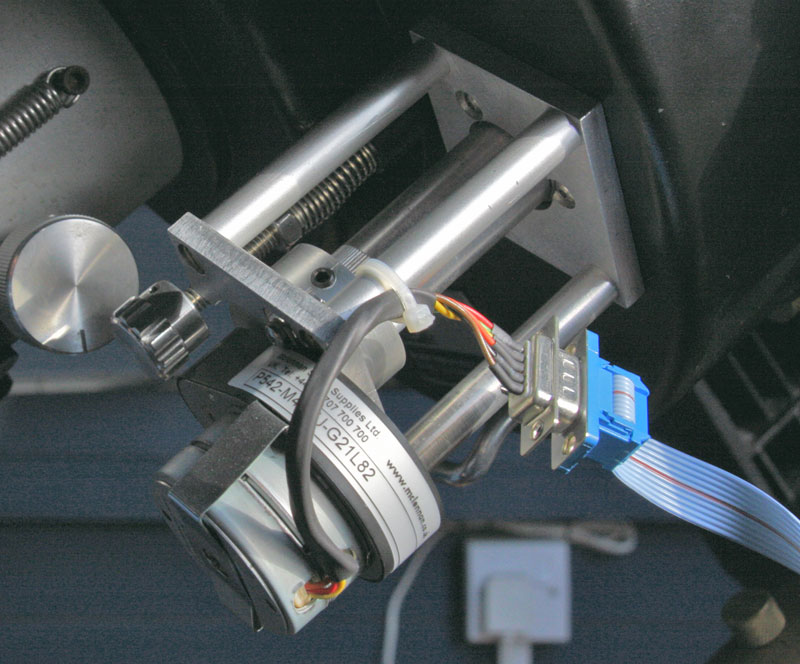
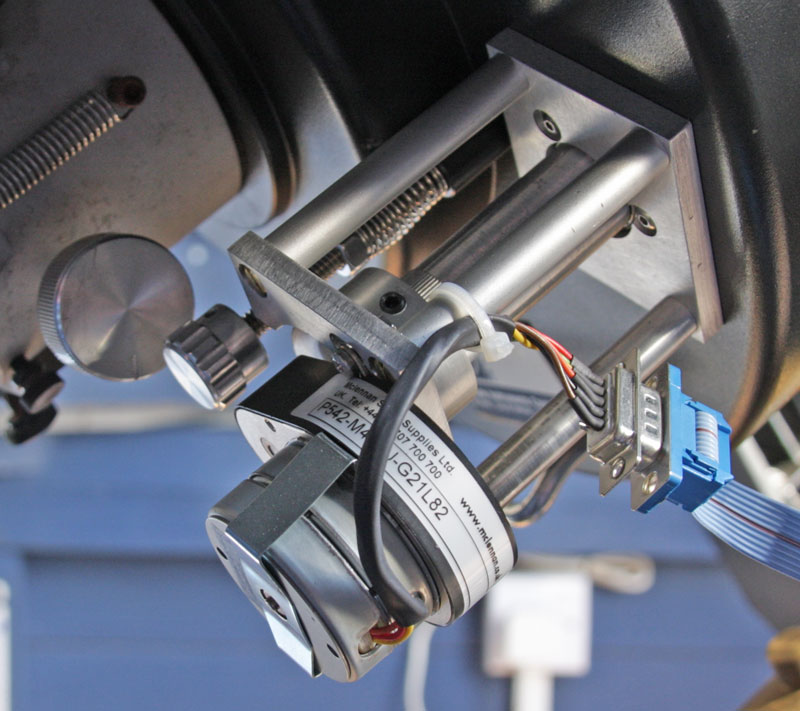
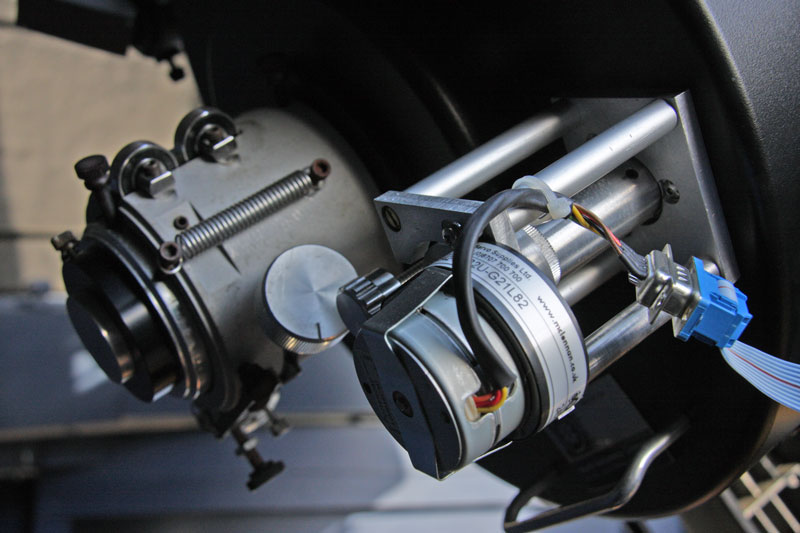
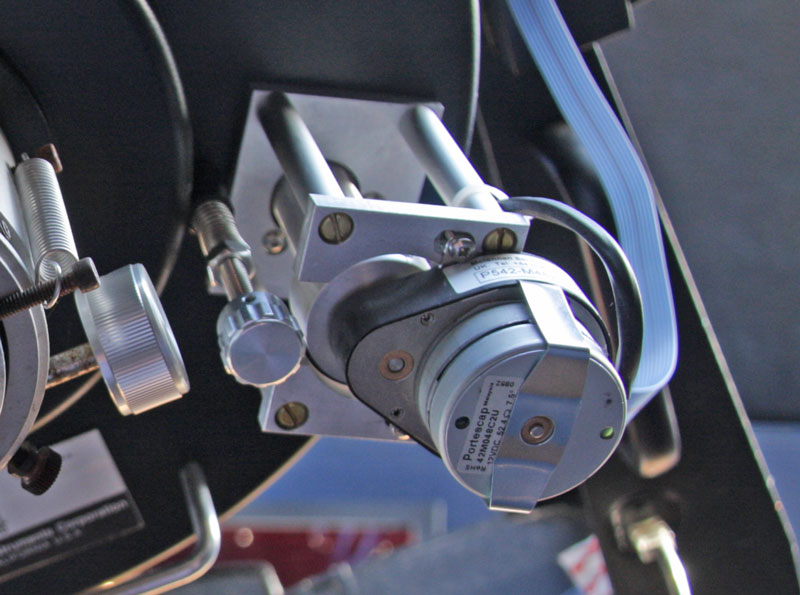
Here's the design drawing for the bracket. It comprises 7 parts - a bottom plate, a top plate, 4 stand offs, and a coupling between the motor and the LX200 focus knob. The bottom plate has a recess underneath that is 0.5mm less than the thickness of the part of the LX200 focuser assembly that is used to attach the assembly to the telescope, so that I could use the original mounting screws to mount the whole bracket to the telescope. The bottom plate of the bracket is basically sandwiched between the screws and the original focuser mounting assembly and the screws are of course long enough to achieve this. The 4 stand offs need to be fitted to the bottom plate before attaching it to the scope, the top plate is then screwed to the top and the motor/coupling mounted on the top plate over the focus knob, grub screws are used to grip the focus knob and the motor shaft. This also means that the focus is driven directly by the motor so no additional backlash is introduced, here are a few photos of the completed bracket fitted to the telescope.
So all fitted up, this is now going to enable me to precisely control the position of the LX200 focus. The Lakeside unit has a full range of 0 to 65535 pulses at 4000 pulses per revolution, so it gives me approximately 16 complete revolutions of the LX200 focus knob. All I needed to do was arrange for the 16 revolutions to cover all of the positions that I needed with some overlap at each end. Then using a Bhatinov Mask I have recorded the required focus positions for each eypiece (etc.) combination and I can either drive the focus there manually or use software like MaximDL or DSLRFocus to drive there exactly.
In the near future I'm also going to post a stand-alone software application that I have written myself to do the job up here.